Install Reels Series Pro and publish consumable Coin packages to Google Play from one dashboard.
This guide covers the licensed Sngine installation, monetization and Coin packages,
Google Play Developer API access, service-account permissions, automatic one-time
product synchronization, and a safe test-purchase checklist.
Sngine websiteA working HTTPS Sngine installation and an administrator account.
PHP and extensionsPHP 8.0 or newer with cURL, Sodium, and Fileinfo. The installer checks every requirement.
Writable integration filesThe web-server user must be allowed to update the bounded Sngine integration targets shown by the installer.
Purchase codeCopy the Reels Series Pro code from LumaQode My Purchases. The code is bound to the exact website host.
Google Play appThe Android application must already exist in Play Console and its package name must match the Flutter build.
Google Cloud projectA project with Google Play Android Developer API enabled and a service-account JSON key.
FFmpeg is optional: if Sngine FFmpeg is enabled, direct episode uploads are converted and thumbnails are generated automatically. Without FFmpeg, supported playable files are stored without conversion.
Install Reels Series Pro
Download the product from LumaQode.Open My Purchases, locate Reels Series Pro, and download version 1.0.0 or newer.
Extract the package on your computer.The folder you upload must be named exactly reels-series-pro. Avoid a nested path such as reels-series-pro/reels-series-pro.
Upload the folder to the Sngine root.Place it beside includes, content, admincp, and index.php.
Verify the purchase code.Enter the code from My Purchases. The License Hub verifies Product #131 and issues a signed local license for this exact host.
Run Install / Update.Review the readiness checks, then click Install / Update now. The operation is idempotent, so the same screen is also used for future package updates.
Nginx and aaPanel: the installer always generates reels-series-pro/storage/nginx-manual/reels-series-pro.conf. aaPanel is updated automatically only when the installer has the required system permission. If the report says manual_required, include the generated rules inside the active website server {} block, test Nginx, and reload it. Do not invent a proxy port; keep the website's existing PHP/upstream routing.
Apache and LiteSpeed: the package includes its own root routing and private-storage denial in .htaccess. No manual Nginx snippet is required on those servers.
After Installation
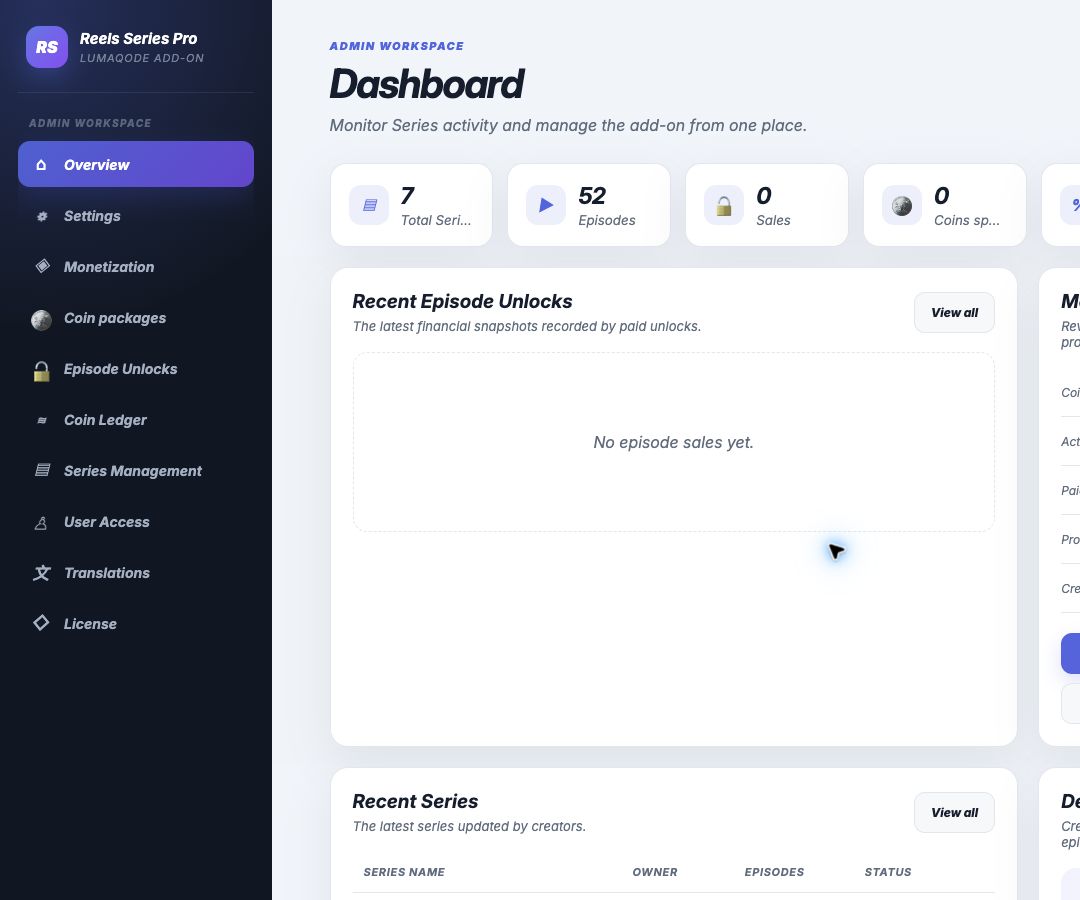
Open the add-on administration workspace and complete the initial configuration:
https://your-domain.com/reels-series-pro/admin/
SettingsEnable the add-on, Series creation, profile section, auto-next, direct uploads, allowed extensions, and maximum upload size.
MonetizationEnable Coins and paid episodes, protect paid media, set the platform commission, Coin cash value, and episode price limits.
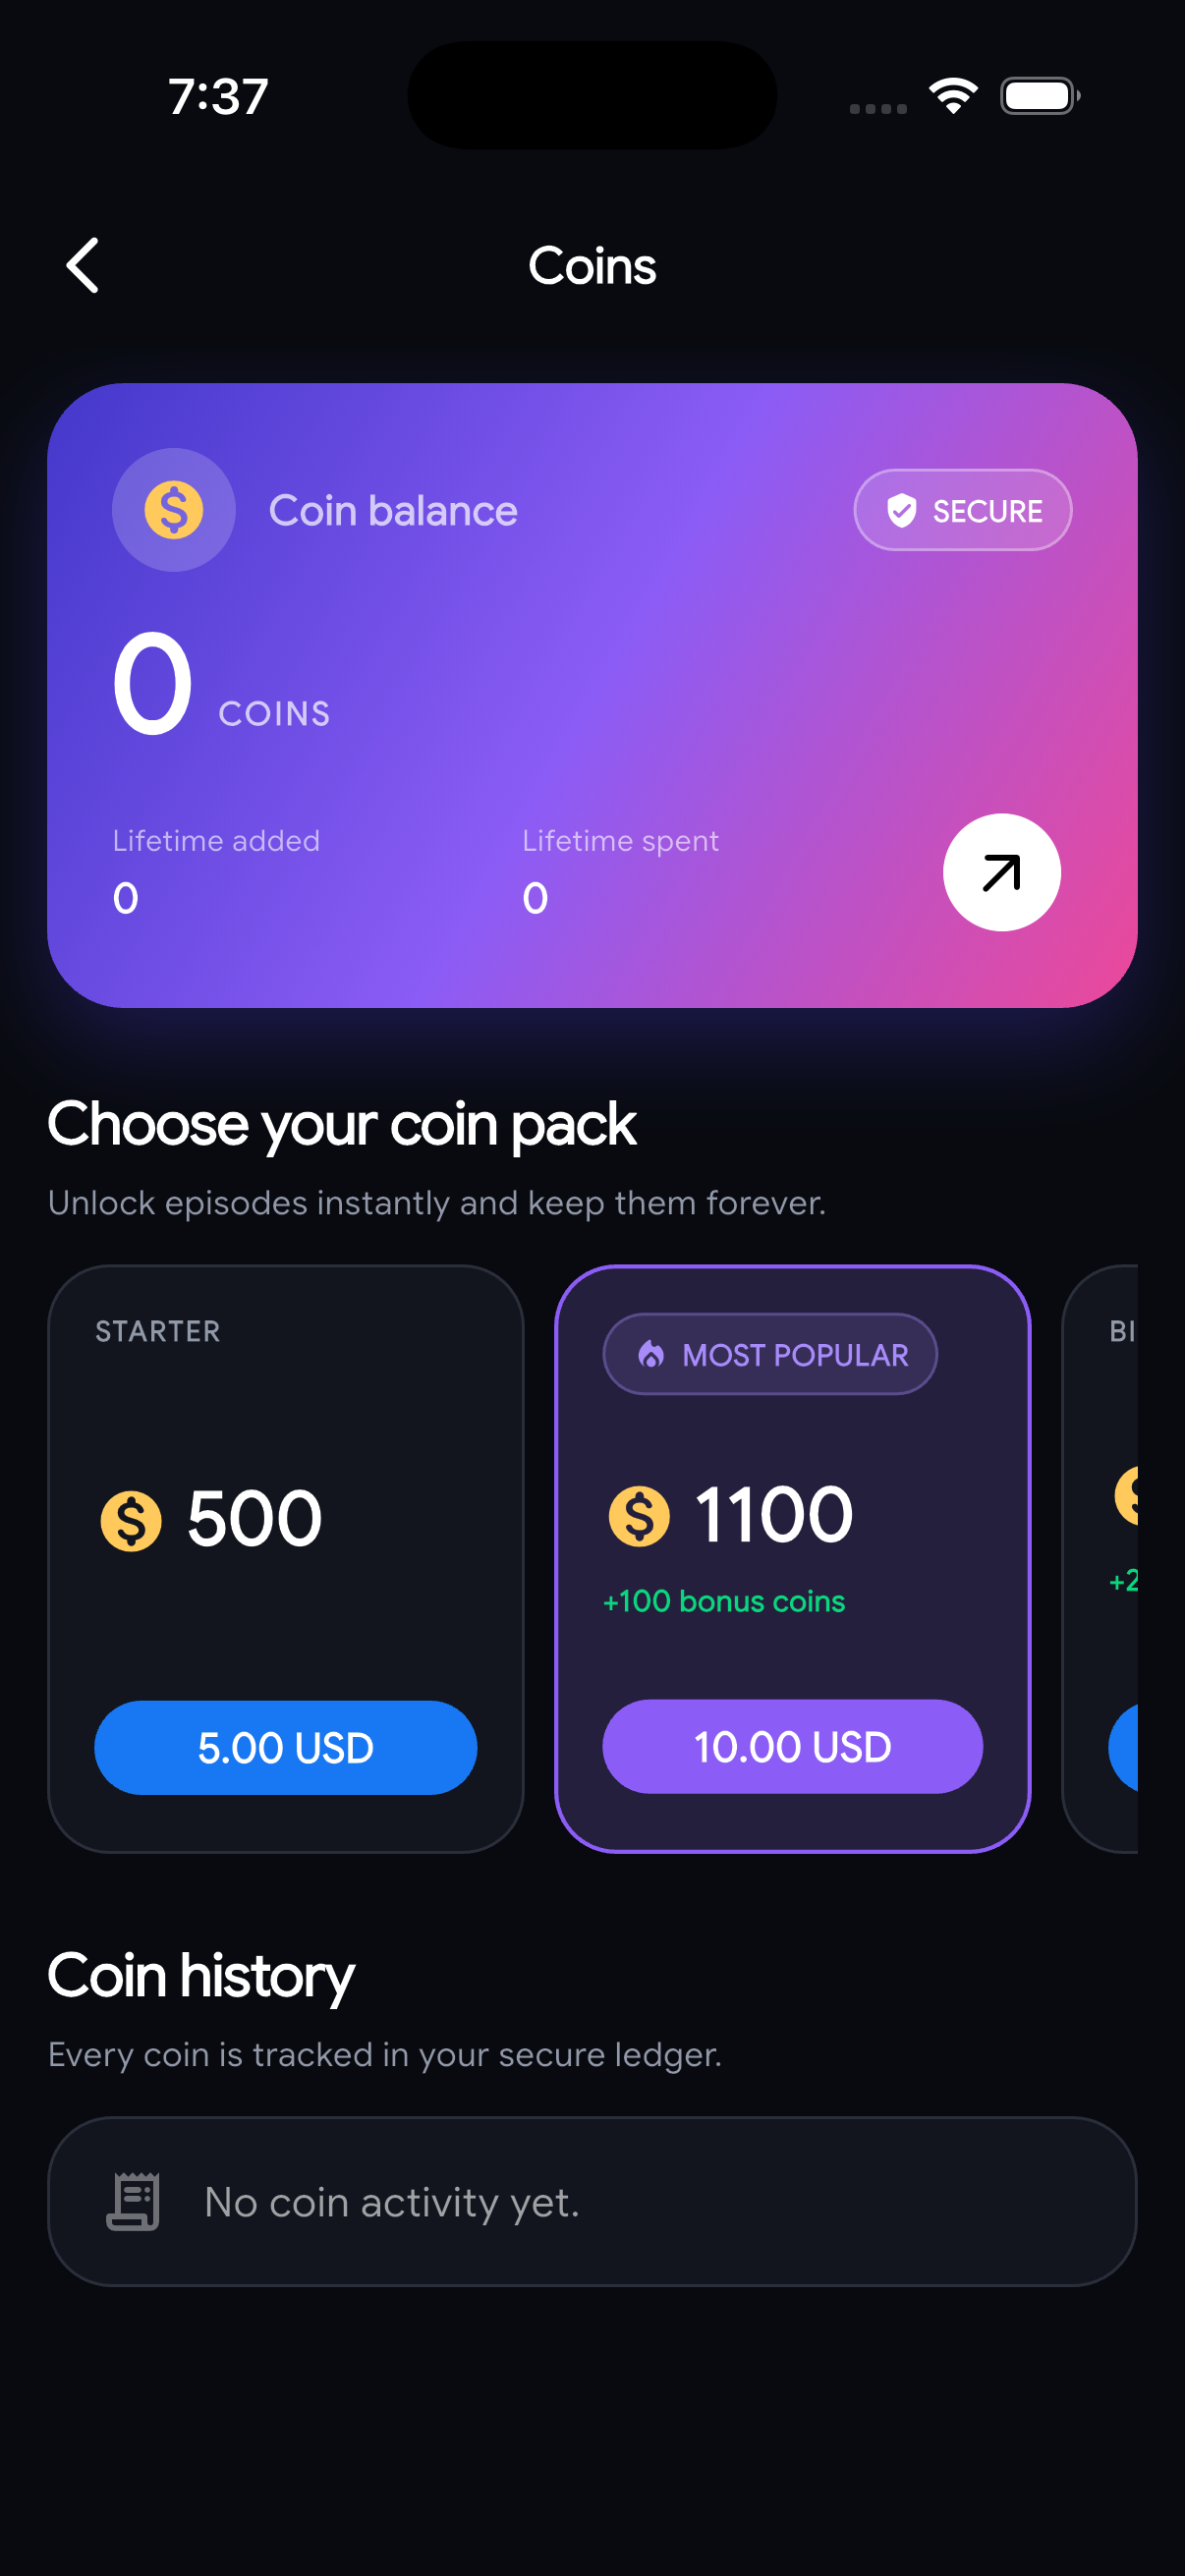
Coin PackagesCreate the packages users see in the web and Flutter Coin store.
Google Play & AppleConnect store credentials, test the server connection, and synchronize package Product IDs.
The administration workspace keeps settings, packages, store billing, unlocks, and the Coin ledger in one place.Active packages appear in the compatible Flutter application after runtime configuration is refreshed.
Configure Coins and Packages
1. Configure monetization values
Open Reels Series Pro Admin → Monetization.
Enable Coins and Paid episodes.
Enable Protect paid media for private entitlement-checked playback.
Set the platform commission percentage.
Set the cash value per Coin. This value calculates gross revenue, commission, and creator net earnings.
Set the default, minimum, and maximum episode Coin price, then save.
2. Create packages
Open Coin Packages and create each package. A package contains:
Field
Purpose
Example
Package name
Customer-facing package label.
Starter
Base Coins
Guaranteed Coins credited after a verified purchase.
500
Bonus Coins
Extra promotional Coins included in the package.
100
Wallet price
Web/Sngine Wallet price and source price used by store synchronization.
9.99 USD
Google Product ID
Permanent Play product identifier. Leave blank for automatic generation.
rsp_coins_pkg_2
Sort order
Controls the package order in the store.
20
Status
Active packages can be purchased; inactive packages remain in historical orders.
Active
Product IDs are permanent after the first successful synchronization. Do not rename a synchronized Product ID. Create a new package when a new ID is required. Changing Coins, price, or status marks the package pending so it can be synchronized again.
Google Cloud: Create the Server Account
The add-on talks to Google Play from the secure Sngine server. It therefore uses a service account, not a personal Google password.
Create or select a Google Cloud project.Open Google Cloud Console with the account that manages your Play Console organization.
Enable Google Play Android Developer API.Open APIs & Services → Library, search for Google Play Android Developer API, and click Enable.
Create a service account.Open IAM & Admin → Service Accounts → Create service account. Use a clear name such as reels-series-billing.
Create a JSON key.Open the service account, choose Keys → Add key → Create new key → JSON, then download the file once.
Keep the JSON private. Never commit it to Flutter, upload it to a public folder, send it in chat, or expose it in JavaScript. Upload it only through the protected Reels Series Pro administration form. The add-on stores it in private protected storage.
Copy the service-account email.It normally ends in @YOUR-PROJECT.iam.gserviceaccount.com.
Open Play Console → Users and permissions.Click Invite new users and enter the service-account email.
Grant access to the correct Android app.Select the application whose package name will be entered in the add-on dashboard.
Grant the required permissions.
View app information and download bulk reports.
View financial data, orders, and cancellation survey responses.
Manage orders and subscriptions.
Manage store presence, so the dashboard can create and update one-time Coin products.
Send and accept the invitation.Wait a few minutes for Google permissions to propagate before testing the connection.
Least privilege: give this service account access only to the required app whenever possible. Do not give it owner or administrator access to unrelated applications.
Connect Google Play in Reels Series Pro
Open Reels Series Pro Admin → Google Play & Apple and complete the Google Play card.
Enter the Android package name.It must exactly match the Play Console app and Flutter Android applicationId, for example com.company.sngine.
Enter the merchant currency.Use the three-letter currency configured for your Google Play merchant account, such as USD.
Upload the service-account JSON.Choose the JSON file downloaded from Google Cloud. Leave the field empty on later saves to keep the existing private credential.
Enable Google Play Coin purchases and save.
Click Test Google connection.Do not continue until the dashboard reports a successful connection for the expected package name.
Package-name mismatch: credentials can be valid while access to the selected app is still denied. Recheck the exact package name and the app selected under the service account's Play Console permissions.
Synchronize Coin Packages to Google Play
Reels Series Pro can create or update the Google Play products. Customers do not need to re-enter every package manually in Play Console.
Create and save all Coin packages first.Use the Coin Packages page. Leave Google Product ID blank to generate rsp_coins_pkg_PACKAGE_ID automatically.
Return to Google Play & Apple.The Package → Store Product IDs table shows Coins, price, Product ID, sync state, and any error.
Click Sync all Google.You can also click Google on a single row. The server creates or updates a Google Play one-time product and its buy purchase option.
Confirm every row says synced.Open Play Console → Monetize with Play → Products → One-time products to review the products and localized prices.
Synchronize again after package changes.A changed price, Coin amount, or active state becomes pending until the next sync.
Google price localization: the add-on sends the configured merchant-currency price and uses Google's regional price conversion. Local prices can differ slightly from a simple currency conversion because Google applies supported price patterns and local rules.
The Flutter app package/application ID exactly matches the package configured in Reels Series Pro and Play Console.
The app is integrated with the Reels Series Pro runtime feature and Google Play Billing flow.
The production website has the add-on installed, licensed, enabled, and reachable through HTTPS.
The runtime API reports Google Play billing enabled and returns synchronized product IDs.
The build is signed and uploaded to an internal, closed, open, or production Play track.
Test accounts opt in to the selected test track before purchasing.
No Coin trust on the device: the Android app starts the Play purchase and sends the returned Product ID and purchase token to the Sngine server. The server verifies the token with Google before crediting Coins. The client must never add Coins locally.
Add license testers.In Play Console, add the Google accounts that will make test purchases under the license-testing settings.
Publish an internal test release.Make sure the package name is unchanged and the tester accepts the opt-in link.
Install from Google Play and sign in.Use a tester account on the device, then sign in to the matching Sngine user account in the app.
Buy one Coin package.The Play purchase sheet should show a test payment instrument for license testers.
Verify the server result.Confirm the Coin balance increased once, then inspect Admin → Coin Ledger. A repeated callback must not credit the same purchase twice.
Test a paid episode.Unlock an episode, confirm the Coin debit, permanent entitlement, creator earning snapshot, and protected playback.
Propagation delay: a new test release, tester, permission, or product may take time to appear. If Product not available is shown immediately after configuration, wait and retry before changing IDs.